Personio to Jira Service Management Assets in 30 mins
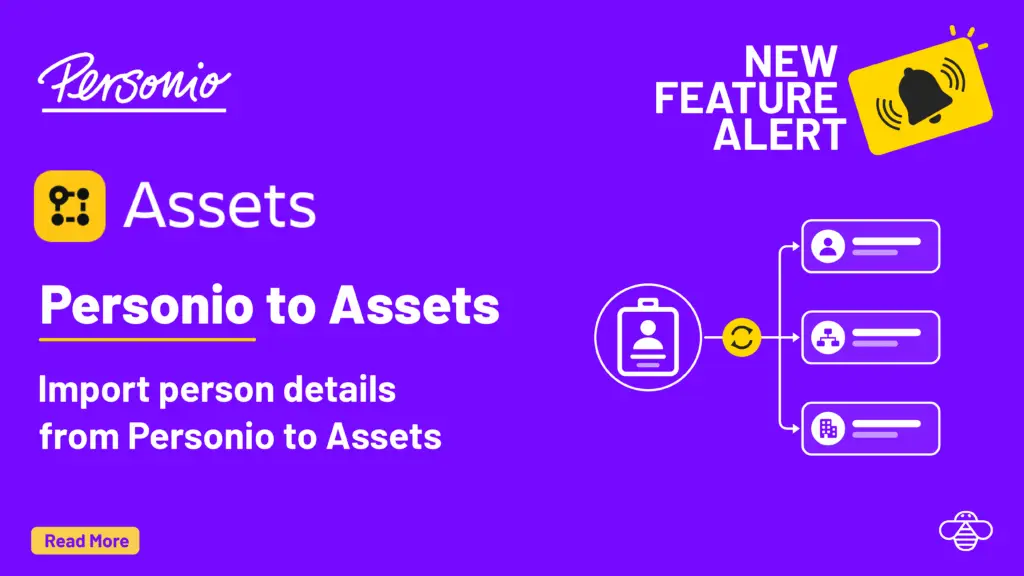
OnLink imports Personio employee records into Jira Service Management Assets in under 30 minutes.
Connect, fetch, map. Once it runs, agents see who an employee is, their status and contact details right next to the ticket, and HR changes flow through on every sync.
Watch the full Personio to Assets setup, start to finish, in under 30 minutes.
Why put Personio people in Assets
Agents know who is asking
Requester, department, manager and employment status appear on the ticket, pulled from Personio instead of typed by hand.
HR changes reach IT automatically
New hires, leavers and status changes in Personio update Assets on every sync, so access reviews and offboarding start from current data.
People linked to their devices
Key Personio persons on email and your MDM devices on owner, and Assets shows who has which laptop.
Before you startA Personio Client ID and Client Secret with the personio:persons:read scope (ask your Personio admin), OnLink installed on your Jira Cloud site, and an Assets object type for people with an ID or Email attribute. The field-by-field reference is the Personio to JSM Assets setup guide.
Step 1: Connect to the Personio API
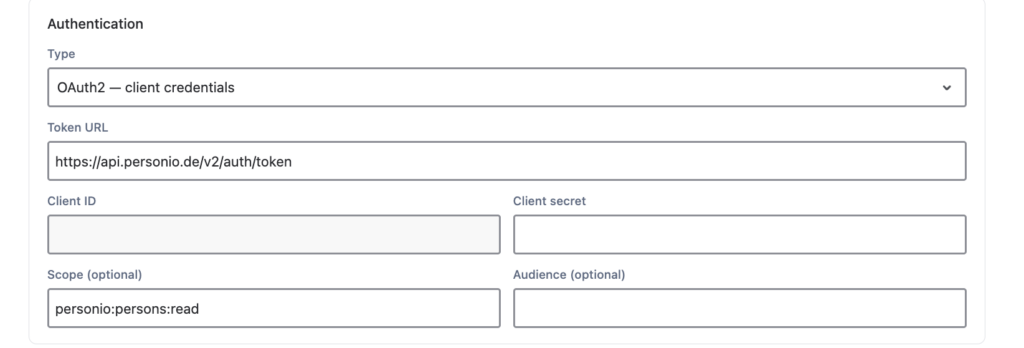
Personio’s v2 API uses OAuth client credentials. Ask your Personio admin for a Client ID and Client Secret, then add an Assets Data Source in OnLink with these settings:
Setting
Value
Authentication Type
OAUTH Client Credentials
Token URL
https://api.personio.de/v2/auth/token
Client ID / Secret
From your Personio admin
Scope
personio:persons:read
OnLink handles the token exchange from here on.
Step 2: Get person details
This example uses Personio’s List persons API. Configure the request:
Setting
Value
Method
GET
URL
https://api.personio.de/v2/persons
Response data path
_data
Save and run the connection. OnLink returns sample JSON so you can confirm the endpoint and see the field names you will map:
Persons is just one example. The same pattern works for any Personio API method: swap the URL and scope to pull departments, companies, teams or other resources.
Step 3: Map fields to Assets
Create the Assets import (see JSM Assets Data Synchronization), then map Personio JSON fields to your Assets object type attributes:
Start with one key: mapping, then add a map: line for every field you want in Assets. Check attribute names for spelling and case.
Run Get Data to preview the records. When the values look right, run the import.
Beyond personsSwap the URL and scope and the same data source pulls Personio departments, teams, companies or job functions. Map each to its own Assets object type and reference them from the Person object for an org chart inside Assets.
Before using Onward's apps, my team was manually moving employee data across three systems, creating incredible room for error and wasting valuable time. Today, our onboarding and offboarding workflows are fully automated.
Priya Joshi
HR systems lead, Bark · Atlassian Marketplace review, Jul 2026
Bring Personio data into Assets with OnLink
Start a free trial of OnLink on the Atlassian Marketplace and have Personio people in Assets before lunch.
Any resource the Personio API exposes. This post uses persons, but the same steps work for departments, job functions, companies and teams. Change the URL and scope, then map the new fields.
What do I need from Personio to connect?
A Client ID and Client Secret from your Personio admin, with the personio:persons:read scope. OnLink uses them to request tokens from https://api.personio.de/v2/auth/token.
Will repeat syncs create duplicate objects?
No. The key:id=id mapping matches each Personio person to an existing Assets object by ID. Matching objects are updated; only new people are created.
Can I filter which people get imported?
Yes. Add query parameters to the request to narrow the results. Personio supports filtering on fields such as id, first_name, last_name, created_at and updated_at.
Does it work with large Personio accounts?
Yes. Personio returns persons in pages using cursor-based pagination, and OnLink supports it, so every record comes through, not just the first page.
Does OnLink integrate Personio with Jira Service Management beyond Assets?
Yes. The same Personio connection powers Jira and JSM workflows and automations in OnLink, and OnLink can push Personio people into Atlassian Teamwork Graph as workers, positions and organizations. One app, one Personio credential.
How does OnLink compare with a single-source Personio importer?
There is no Pio importer for Personio as of October 2026. OnLink covers Personio alongside 20 other HR and payroll systems, your identity provider and your MDM in one app at one price. See JSM Assets integrations compared.
On this page
Personio data in Assets
Start a free trial of OnLink on the Atlassian Marketplace. Personio is one of 100+ HR and payroll sources in the same app.
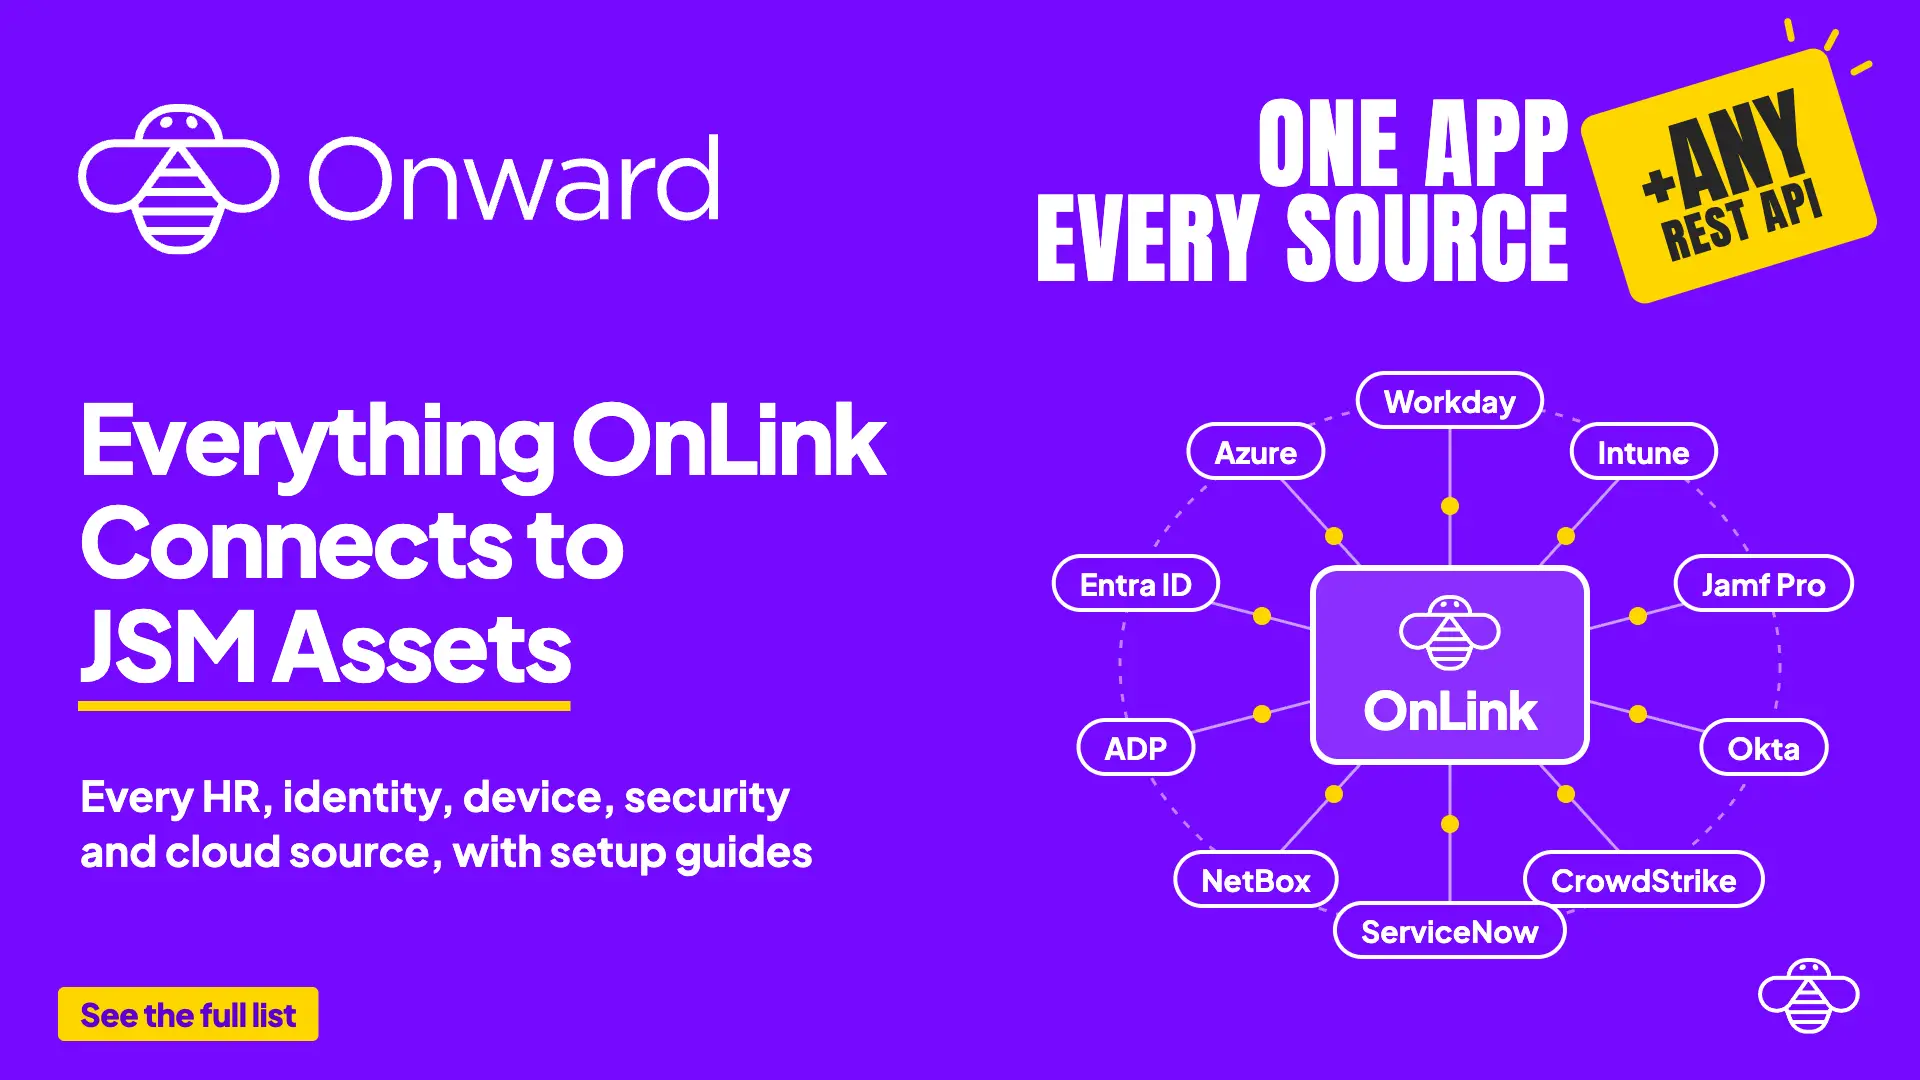
Connect, fetch, map. Your Personio people data lives in JSM Assets and every sync keeps it current. The full setup guide covers pagination, filters and every field; One App, Every Source lists the other systems OnLink connects.