One of our strong recommendations to our customers is to use Assets in Jira Service Management. When implemented properly, Assets serve as the foundation for effective service management and automation. This, in turn, provides a better employee experience and faster issue resolution. In this blog, we cover how to import employee data from Namely into Assets.
About Namely
Namely is a cloud-based human resources (HR) platform designed for mid-sized companies. It offers a comprehensive suite of HR tools, including payroll, benefits administration, talent management, time tracking, and performance reviews, all integrated into a single, user-friendly platform.
Namely offers a RESTful API that allows developers to integrate its HR platform’s features into other applications. The API provides access to various HR data, including employee profiles, payroll, benefits, and performance metrics. Detailed documentation, including authentication methods, endpoints, and usage examples, is available on Namely’s developer portal.
How OnLink Integrates with Namely
OnLink provides a native connector to Namely using the Namely API. By using OnLink, you can easily import, map, and manage your employee data from Namely into Assets in JSM.
Connecting OnLink to Namely
Connecting Namely with OnLink is straightforward:
Navigate to OnLink → Connections tab.
Click on “Add System”.
Choose Namely and add the API credentials.
You will need to get the following from your HR Admin who manages your Namely instance.
API URL = https://{company}.namely.com/
API Key = Personal Access Token
You’ll need to configure the API endpoint using Namely’s API. Here’s a reference to the Namely API documentation: Namely API Reference Link.
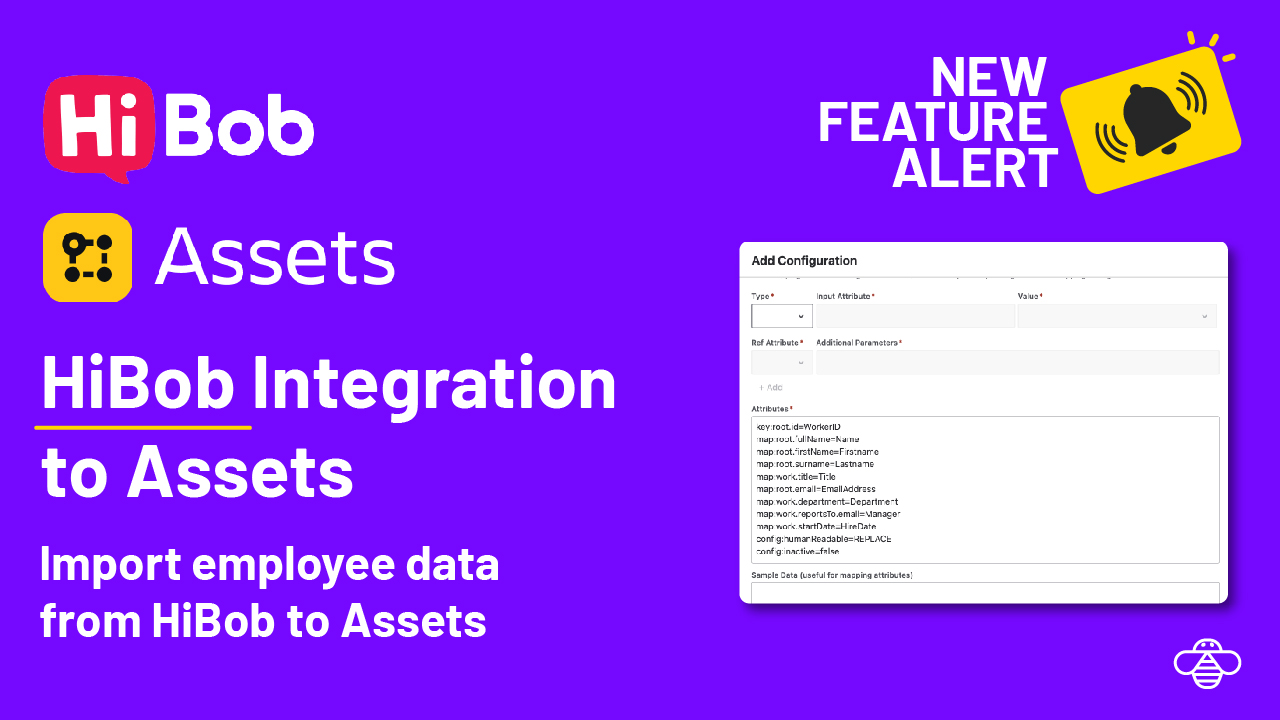
Asset Mapping with Namely Fields
After setting up your connection, use the OnLink app from the “Manage your apps” menu to configure field-level mapping.
Below is an example of a common mapping configuration:
 key:id=ID
 map:first_name=First Name
 map:last_name=Last Name
 map:email=Email
Understanding the Mapping Configuration
Key or Map
Description
key:id=ID
The keyword “key” refers to using id from Namely as a unique identifier. This allows OnLink to update the record.
map:first_name=First Name
Maps first_name from Namely to First Name text attribute.
config:data_source=
[Optional] Set to other API keywords e.g. “groups”. By default, OnLink pulls profiles.
config:filterKey
Set filter when pulling profiles e.g. config:filterKey=user_status.
config:filterValue
Filters profiles based on the set key, e.g. config:filterValue=active.
Benefits of Having Employee Data in Assets in Jira Service Management
Integrating employee data from Namely into Assets offers several advantages:
Faster Incident Resolution: Having accurate employee data readily available allows support teams to quickly resolve employee-related issues by understanding user profiles and history.
Automated Onboarding & Offboarding: Automating processes like account provisioning and deactivation becomes seamless when HR data is synced in Assets.
Improved Employee Experience: Improved workflows and quick resolution of issues contribute to higher employee satisfaction.
Running the Integration in OnLink
After configuring your data source and mapping, follow these steps:
Navigate to OnLink from the “Manage your apps” menu in Jira.
Run the integration by first clicking Connections > Job Logs.
Click Import and wait for the message: “No pending records. Data will be imported on the next Import run.”
Trigger an Import run manually or schedule automated runs for production environments.
End to End Demo Video
OnLink fully automates these import processes based on your desired schedule, eliminating manual updates and significantly reducing operational effort.
Ready to import employee data from Namely to Assets in JSM? Give OnLink a try.
If you like this blog, you may also like the following ones: